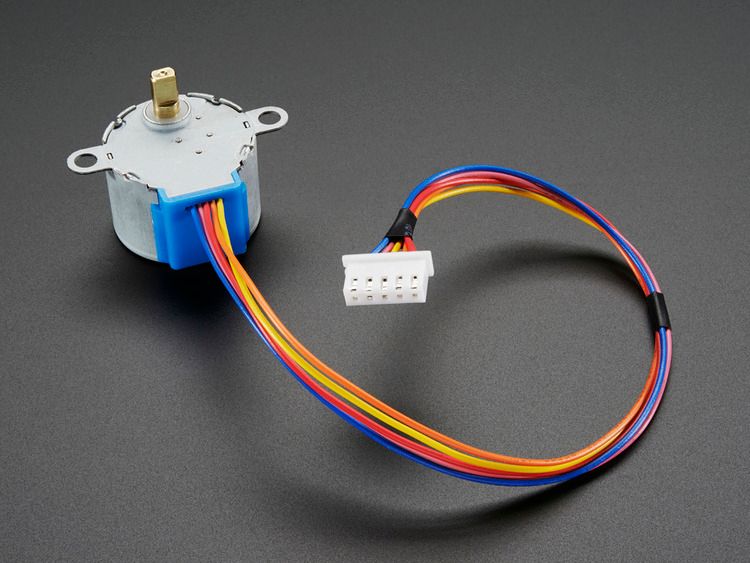
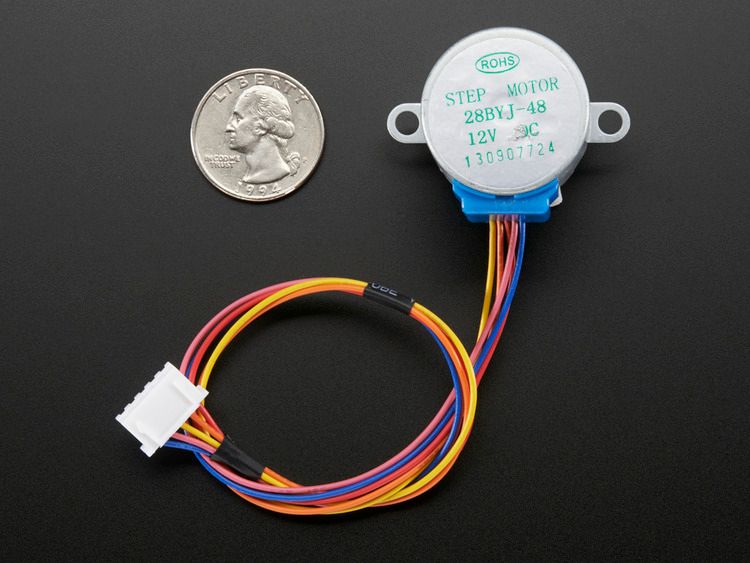
The gearing has a few side effects which are important to note. First, you can turn the stepper by hand but not as smoothly as an un-geared stepper. It also means you shouldn't use interleaved or micro-stepping to control or it will take forever to turn. Instead, use single or double stepping. The torque is fairly high but its slower than un-geared steppers - we maxed out at about 80 RPM when powering with 12VDC and about 50 RPM on 9VDC.
To use with the Adafruit Motor Shield, connect red to ground (middle), orange and pink to one motor port (say M1) and blue and yellow to the other motor port (say M2). So in order, that's: orange - pink - red - blue - yellow. Then just use the example code that comes with the Adafruit Motor Shield library and set the constructor to Adafruit_StepperMotor *myMotor = AFMS.getStepper(513,moratorium) and the speed at 5 RPM by calling motor->setSpeed(5). Otherwise, you can also wire it up with some transistors and use the Arduino Stepper library
TECHNICAL DETAILS
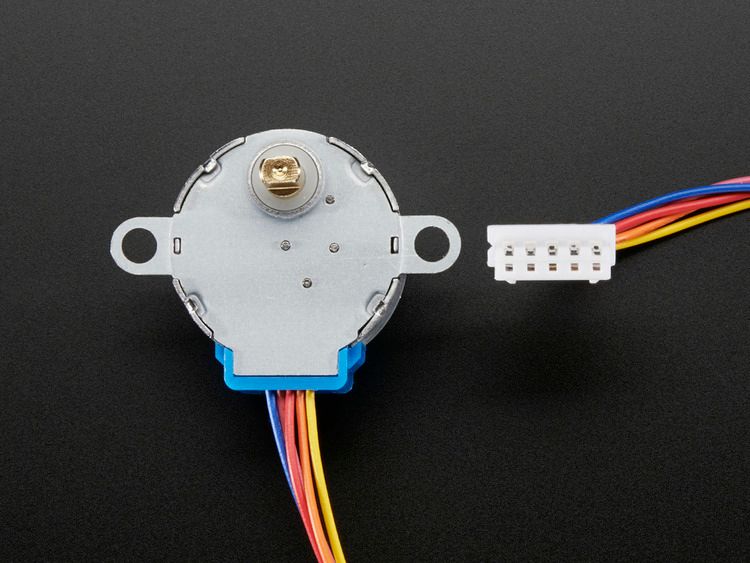
- Unipolar stepper with 0.1" spaced 5-pin cable connector
- 32 steps per revolution
- 1/16.025 geared down reduction
- 5V-12V DC suggested operation
- Weight: 37 g.
- Dimensions: 28mm diameter, 20mm tall not including 9mm shaft with 5mm diameter
- 9" / 23 cm long cable
- Holding Torque @ 12VDC: 250 gram-force*cm, 25 N*mm/ 3.5 oz-force*in
- Shaft: 5mm diameter flattened


LEARN
Adafruit Motor Shield V2 Stackable, high current DC and Stepper motor shieldAdafruit Motor Selection GuideChoose the right motor (and controller) for the job!

 Svenska
