
 Svenska


Cart
Your cart is empty, but doesn't have to be..
🔹 AI Learning Courses (AI 1 & AI 2): Perfect for students exploring voice recognition, natural language interaction, and embedded systems.
🔹 STEM & Maker Education: Engages learners in hands-on electronics, coding, and AI concepts in a fun, beginner-friendly way.
🔹 Workshops & Clubs: Great for classroom use, AI workshops, or robotics clubs focusing on real-world applications of conversational AI.
🔹 Hobbyists & Developers: Suitable for prototyping smart assistants, IoT interfaces, or experimenting with ESP32-based AI.
It's a powerful, hands-on tool to teach and learn the fundamentals of AI, voice technology, and IoT—all in one kit.
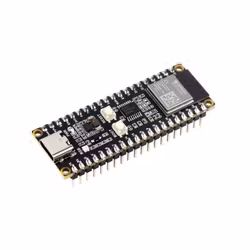
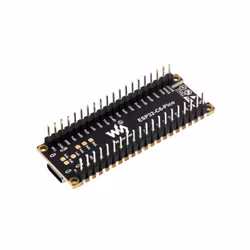
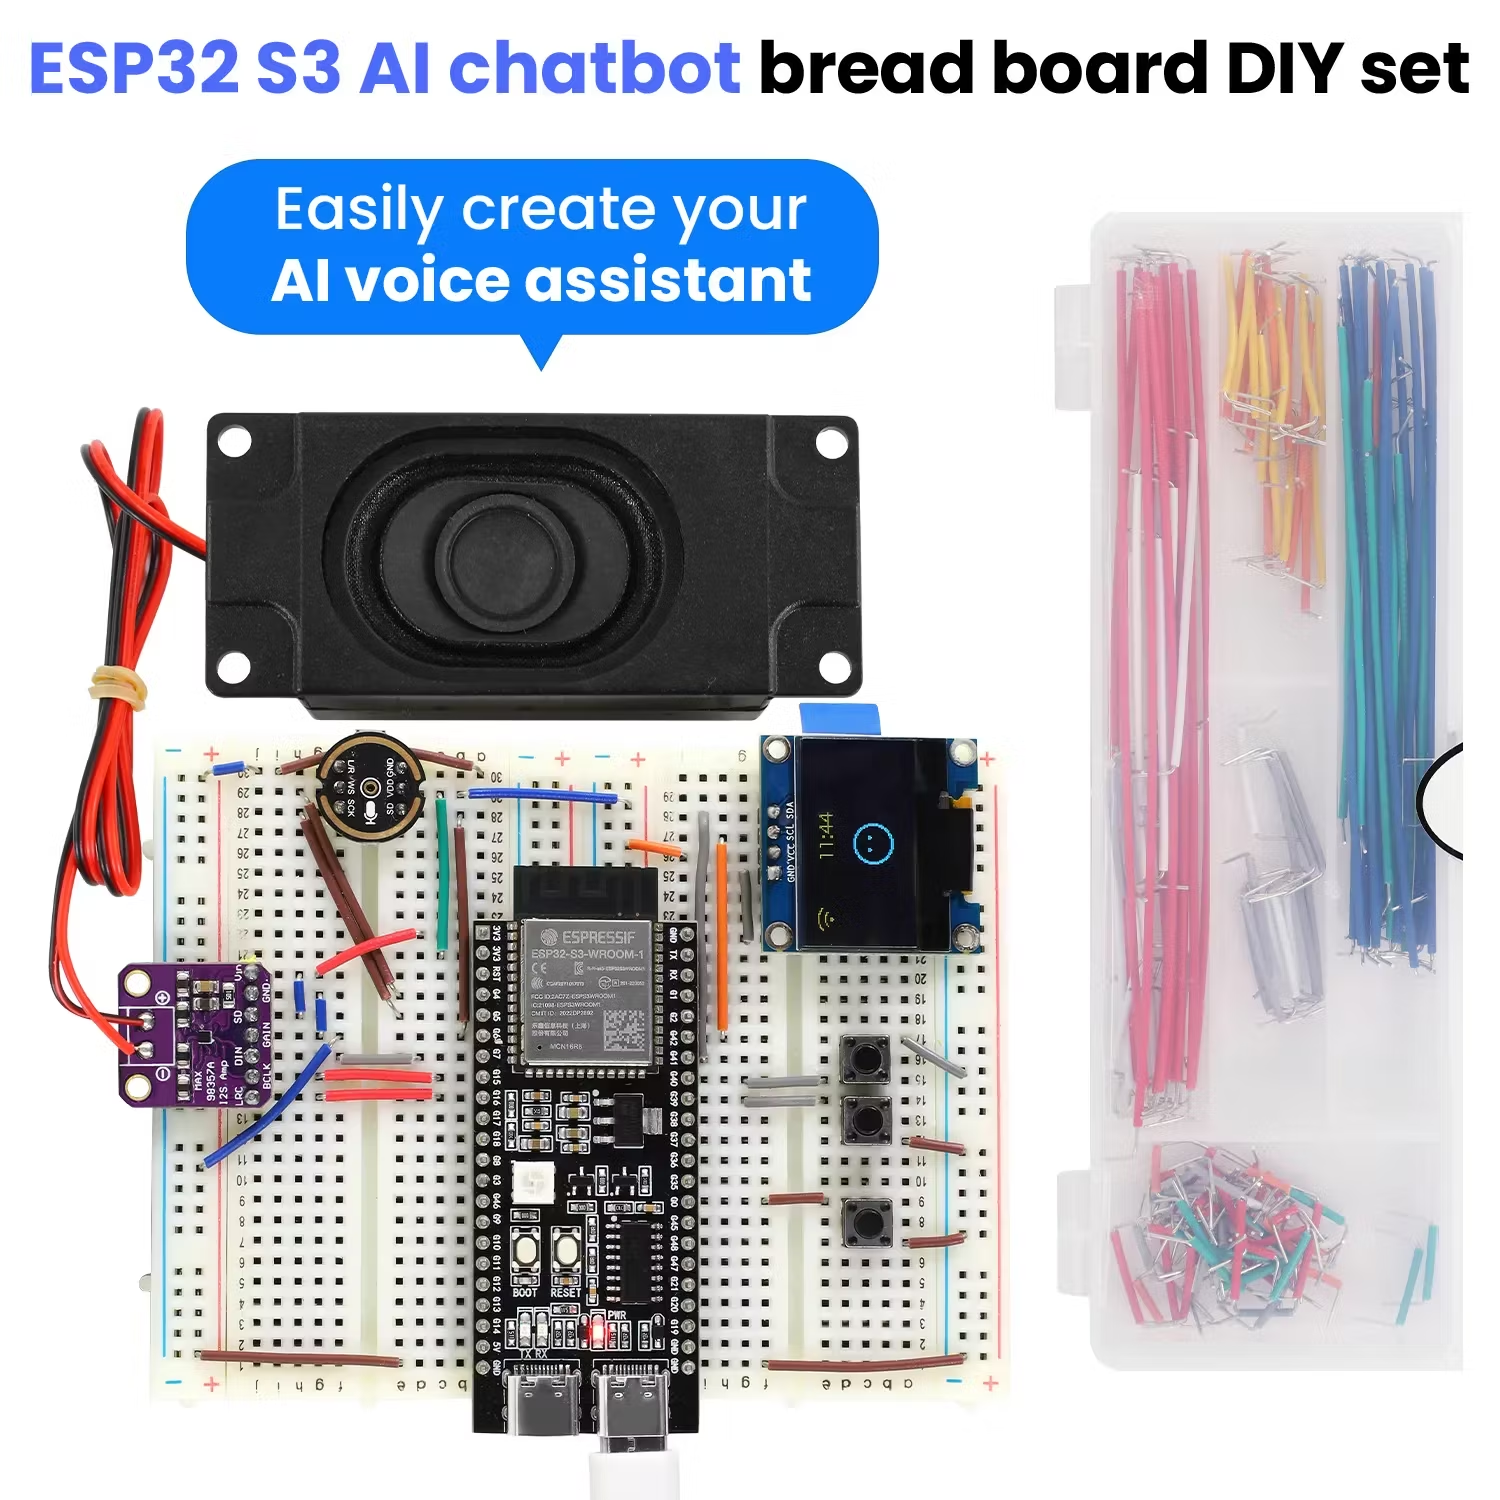
ESP32‑S3‑DevKitC‑1, a dual‑core chip with Wi‑Fi, Bluetooth, and built‑in ML acceleration—perfect for AI tasks SourceForge+6docs.keyestudio.com+6docs.keyestudio.com+6
INMP441 MEMS digital mic (I²S output) for clear voice capture oshwlab.com+4docs.keyestudio.com+4docs.keyestudio.com+4
MAX98357A Class D amplifier and 8Ω speaker for crisp voice responses oshwlab.com+4docs.keyestudio.com+4docs.keyestudio.com+4
128×64 OLED (SSD1306) display to show status and chat dialogue SourceForge+3docs.keyestudio.com+3docs.keyestudio.com+3
Breadboard, jumper wires, tactile buttons, and USB‑C cable—no soldering required
Expandable GPIO/I²C lines so you can add sensors or modules as your skills grow
This kit is ideal for makers, students, or anyone curious about embedded AI—providing hands‑on exposure to speech recognition, audio output, firmware flashing, and final voice‑activated operation.
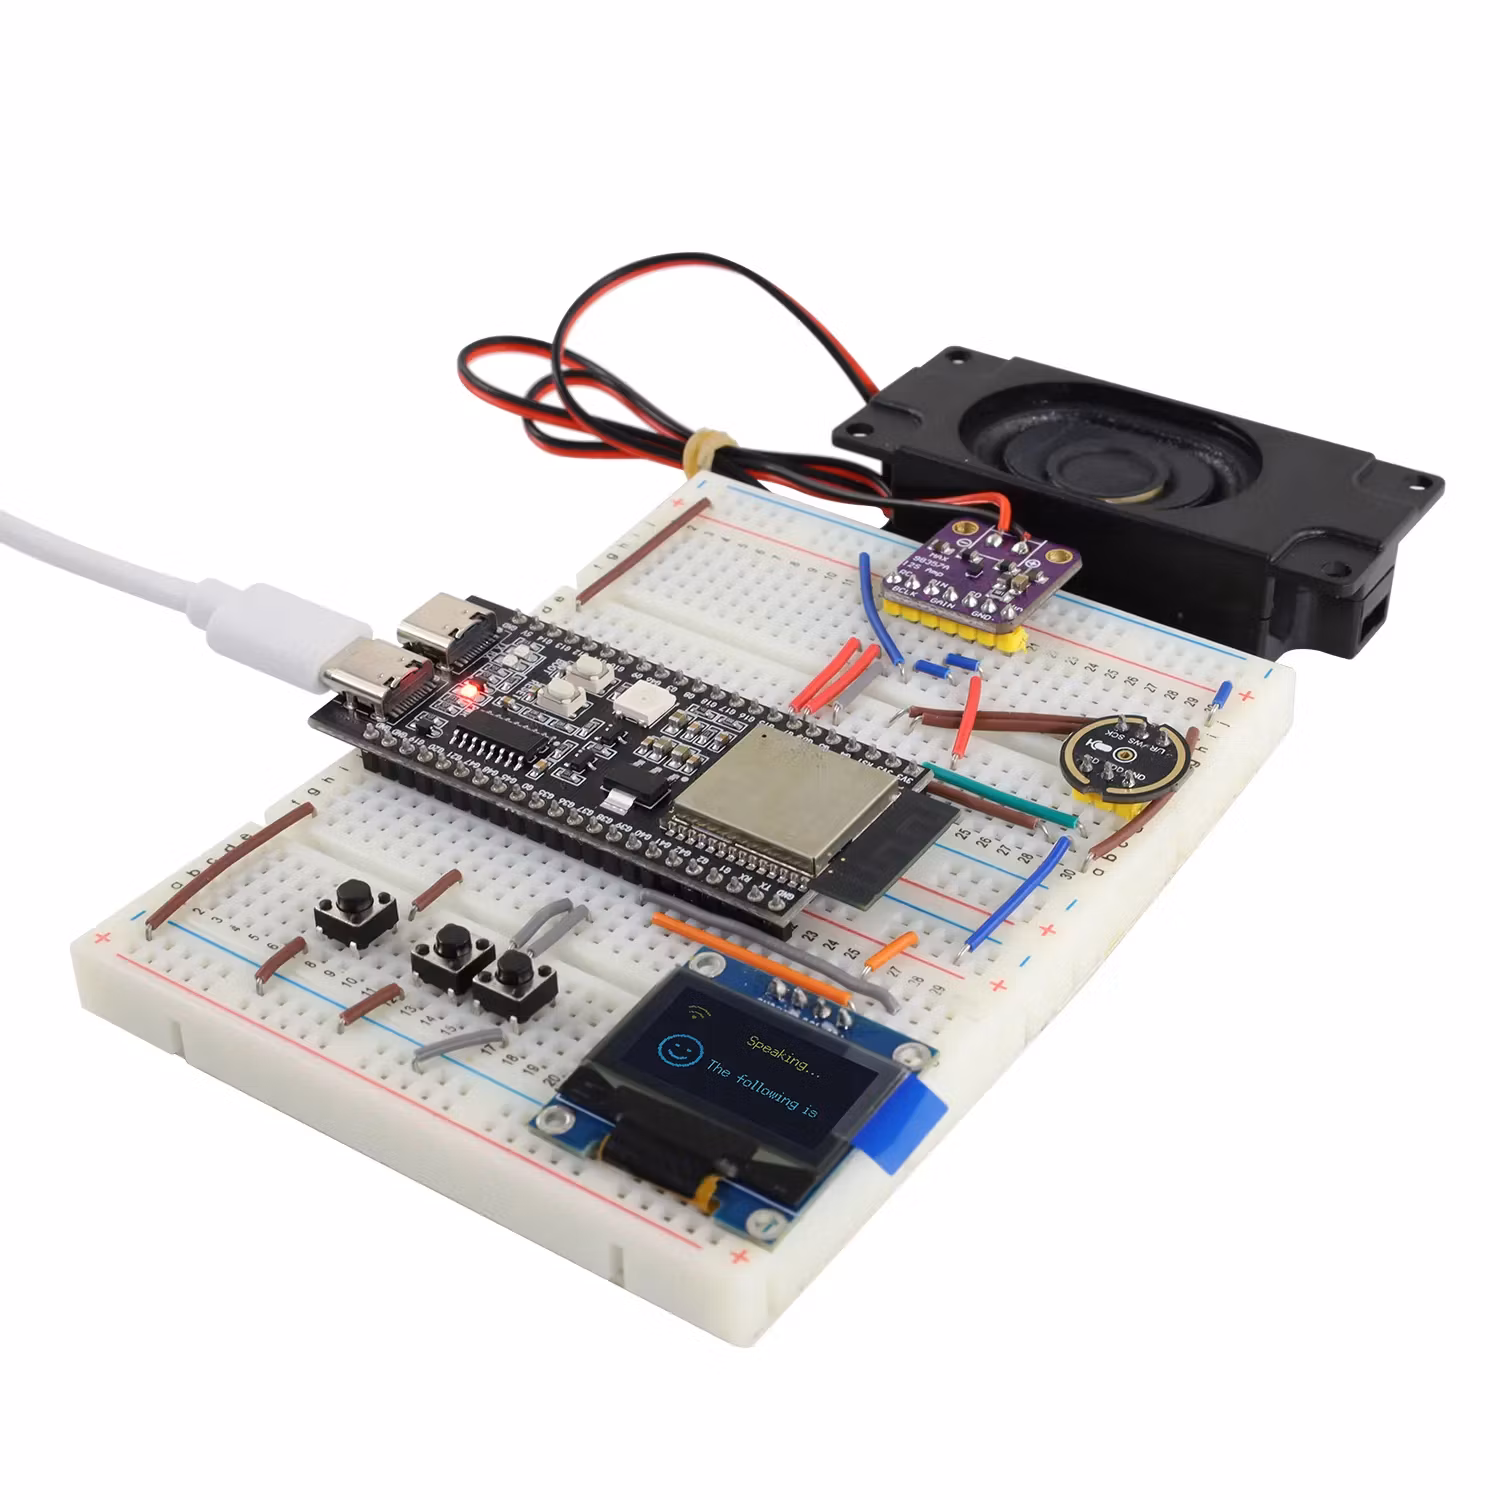
Place the two 400‑hole breadboards side by side.
Insert the ESP32‑S3 DevKit so its Type‑C port faces outward.
Follow the wiring diagram (based on the official docs) oshwlab.com+4docs.keyestudio.com+4docs.keyestudio.com+4 :
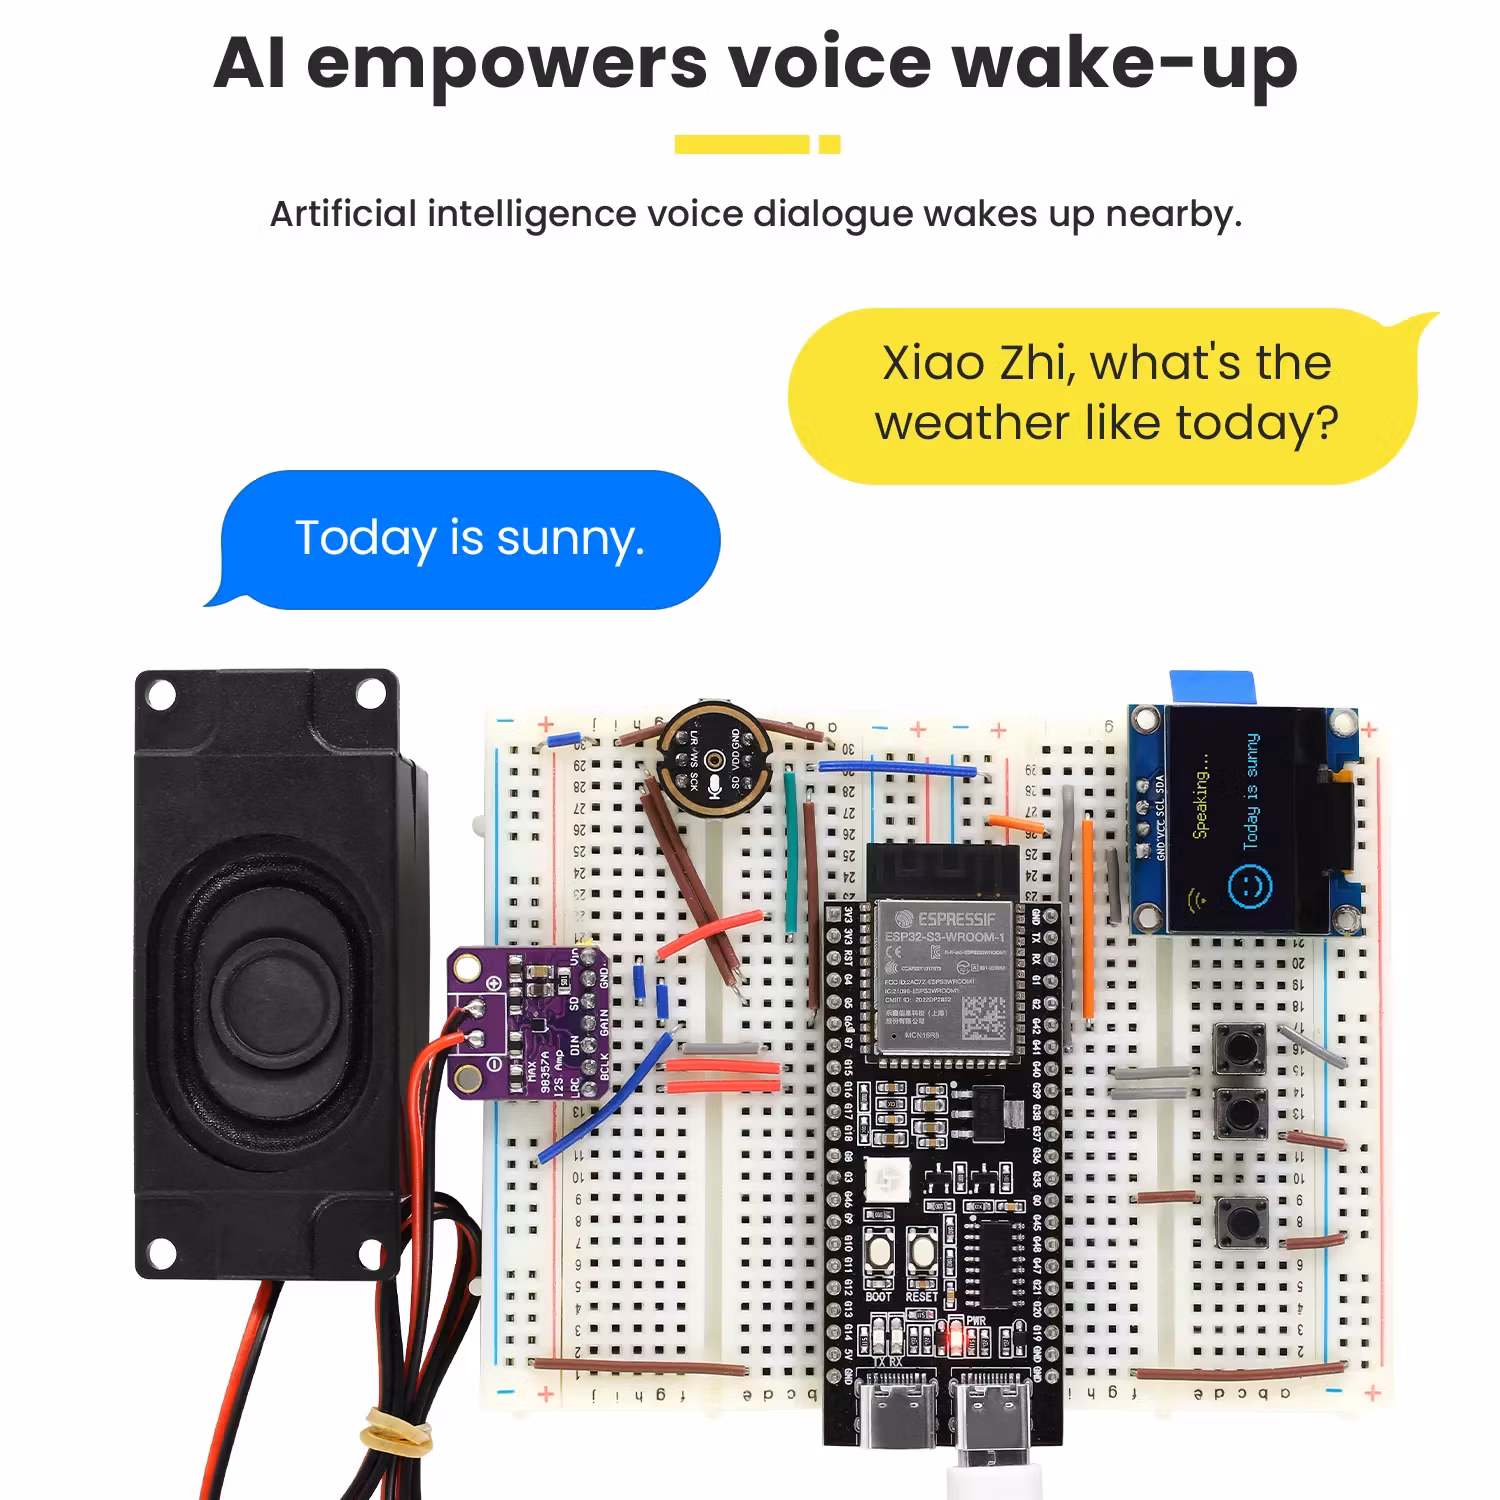
Microphone (I²S INMP441):
GPIO4 → WS
GPIO5 → SCK
GPIO6 → SD
3V3 → VDD
GND → GND
Amplifier & Speaker (I²S MAX98357A):
GPIO7 → DIN
GPIO15 → BCLK
GPIO16 → LRC
3V3 → VCC
GND → GND
Speaker → Audio+ / Audio−
OLED Display (I²C SSD1306):
GPIO41 → SDA
GPIO42 → SCL
3V3 → VCC
GND → GND
Buttons:
Volume–: GPIO39 → button → GND
Volume+: GPIO40 → button → GND
Wake Button: GPIO0 → button → GND
🔧 Tips: Ensure all GND lines are common; double‑check each connection to avoid mismatches docs.keyestudio.com+2docs.keyestudio.com+2oshwlab.com+2 GitHub .
Install Espressif’s Flash Download Tool.
Download the latest merged-binary for 128×64 OLED.
Connect the ESP32 via USB, select ESP32‑S3, set baud and port, and flash the .bin to address 0x0 docs.keyestudio.com+3docs.keyestudio.com+3docs.keyestudio.com+3 .
After flashing, press RST, and the onboard RGB LED will blink—indicating configuration mode is ready.
Connect your PC or phone to the device’s Wi‑Fi hotspot (SSID like Xiaozhi-XXXXXX).
A captive portal appears; select your 2.4 GHz network and enter your password.
Once connected, the LED will turn green and the device will announce a 6‑digit code docs.keyestudio.com+6docs.keyestudio.com+6docs.keyestudio.com+6 .
Visit https://xiaozhi.me and sign up.
Under Device Management, click “Add New Device” and enter the code announced by your bot GitHub+6docs.keyestudio.com+6docs.keyestudio.com+6 .
Create your AI agent’s name and personality. You can customize voice style and responses. Finalize and restart the device to begin chatting.
Wake with the button or voice, ask questions.
Volume up/down buttons adjust audio playback.
Expandable GPIO allow adding sensors (e.g., temperature, LED notifications).
Customize firmware or develop new features using Arduino IDE or ESP‑IDF.
No LED blink after flash? Check Type‑C port orientation; ensure correct soldering on RGB LED docs.keyestudio.com+1docs.keyestudio.com+1 .
No sound or mic input? Verify I²S connections; check amplifier volume buttons aren’t muted docs.keyestudio.com .
Wi‑Fi portal doesn’t appear? Ensure you're on a 2.4 GHz network; manually browse http://192.168.4.1
docs.keyestudio.com+1docs.keyestudio.com+1 .
Buttons not working? Confirm the 4‑pin switch orientation and correct GPIO wiring docs.keyestudio.com .

Your cart is empty, but doesn't have to be..